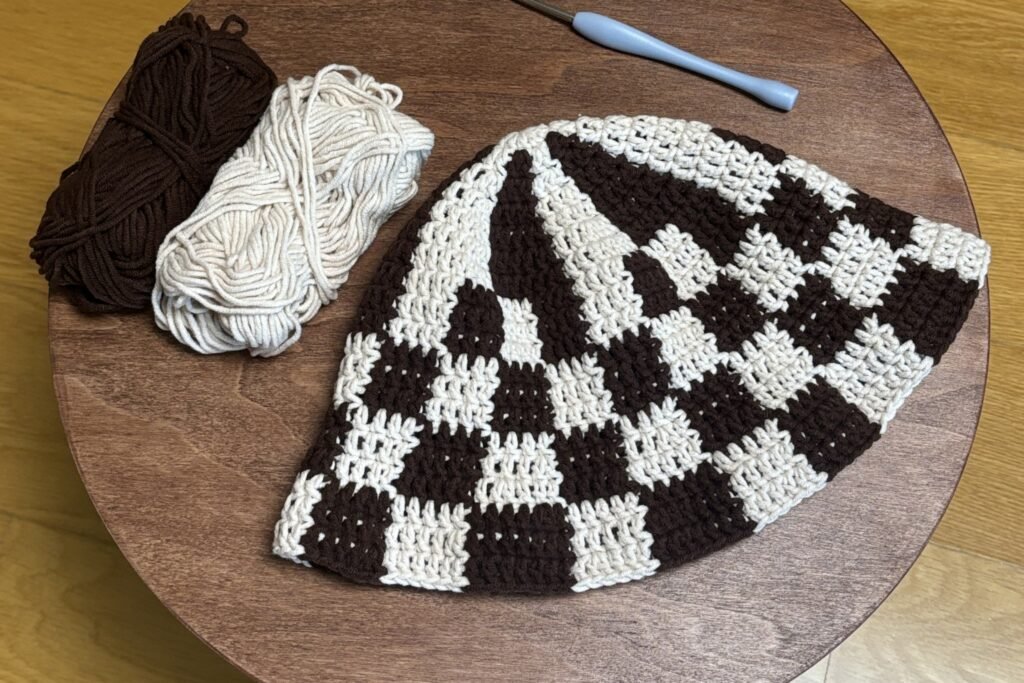
This pattern uses double crochet stitches and a tapestry crochet technique to create the checkered effect.
Materials
- Yarn: Worsted weight (Number 4) yarn in two contrasting colors. The tutorial uses Red Heart Super Saver.
- Color A (e.g., Brown)
- Color B (e.g., Cream)
- Crochet Hook: 4.5 mm
- Tools: Darning needle, scissors
Abbreviations (US Terms)
- ch: chain
- sl st: slip stitch
- dc: double crochet
- inc: increase (place 2 dc in the same stitch)
- st(s): stitch(es)
- mc: magic circle
- CA: Color A
- CB: Color B
Important Notes
- The beginning ch 2 at the start of each round does not count as a stitch.
- Color Changes: To change colors, work the last stitch of a color block until you have two loops left on your hook. Yarn over with the new color and pull through to complete the stitch.
- Carrying Yarn: Carry the non-working yarn along the top of your stitches and crochet over it to keep your work neat and manage the two colors.
- Stitch Tension: The original tutorial recommends tight stitches for a structured hat.
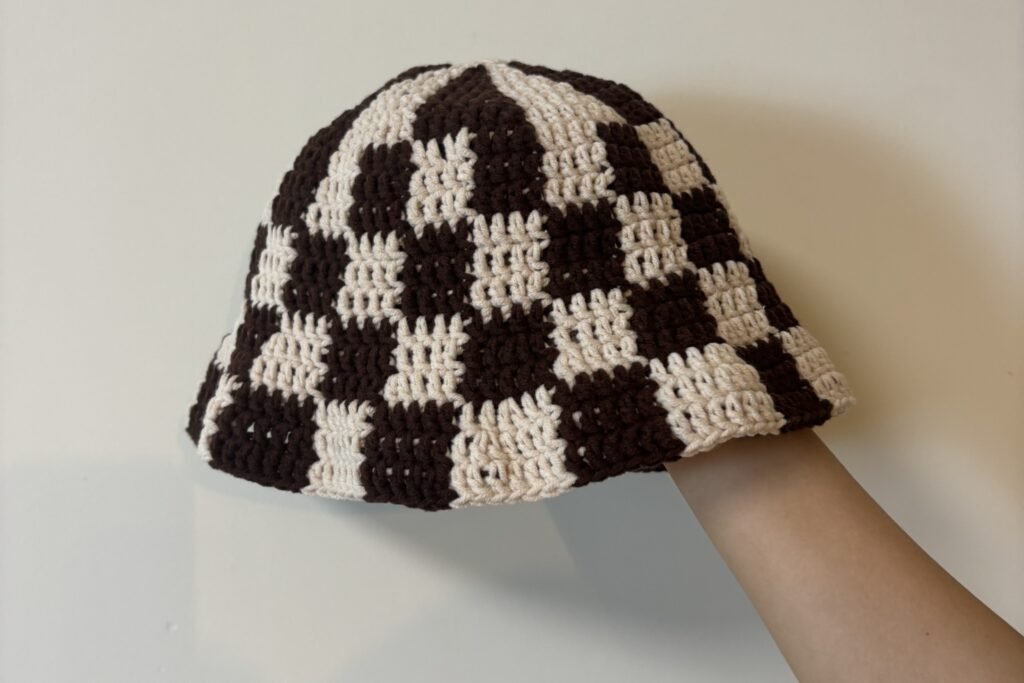
The Pattern
Part 1: The Crown (Increases)
Round 1:
- With CA, create a mc.
- Ch 2. Work 10 dc into the mc. (10 sts)
- Pull the tail to close the circle. Sl st to the top of the first dc (not the ch 2) to join.
Round 2:
- Ch 2.
- With CA, work an inc in the first st. Change to CB on the final step of the second dc.
- With CB, work an inc in the next st. Change to CA on the final step of the second dc.
- Repeat from * to * around. You will end with a CB block. Change to CA. (20 sts)
- Sl st to the top of the first dc to join.
Round 3:
- Ch 2.
- With CA: dc in the first st, inc in the next st. Change to CB.
- With CB: dc in the next st, inc in the next st. Change to CA.
- Repeat from * to * around. (30 sts)
- Sl st to join.
Round 4:
- Ch 2.
- With CA: dc in the first 2 sts, inc in the next st. Change to CB.
- With CB: dc in the next 2 sts, inc in the next st. Change to CA.
- Repeat from * to * around. (40 sts)
- Sl st to join.
Round 5:
- Ch 2.
- With CA: dc in the first 3 sts, inc in the next st. Change to CB.
- With CB: dc in the next 3 sts, inc in the next st. Change to CA.
- Repeat from * to * around. (50 sts)
- Sl st to join.
Round 6:
- Ch 2.
- With CA: dc in the first 4 sts, inc in the next st. Change to CB.
- With CB: dc in the next 4 sts, inc in the next st. Change to CA.
- Repeat from * to * around. (60 sts)
- Sl st to join.
Round 7:
- Ch 2.
- With CA: dc in the first 5 sts, inc in the next st. Change to CB.
- With CB: dc in the next 5 sts, inc in the next st. Change to CA.
- Repeat from * to * around. (70 sts)
- Sl st to join.
Round 8 (Transition to 4-Stitch Checkers):
- This round continues to increase while establishing the 4-stitch checker pattern for the body of the hat.
- Ch 2.
- With CA: dc in the next 4 sts. Change to CB.
- With CB: dc in the next 2 sts, inc in the next st. Change to CA.
- Repeat from * to * around. This pattern uses 7 stitches from the previous round to create 8 new stitches. (80 sts)
- Sl st to join.
Part 2: The Sides (No Increases)
For the sides of the hat, you will work in even rounds of double crochet, alternating the checker pattern every two rounds.
Rounds 9-10:
- Ch 2.
- Following the colors from Round 8, work 2 rounds of even checkers.
- With CA, dc in the next 4 sts. Change to CB.
- With CB, dc in the next 4 sts. Change to CA.
- Repeat from * to * around for two full rounds. (80 sts)
- Sl st to join at the end of each round.
Rounds 11-12:
- Ch 2.
- Switch the color pattern to create the checkerboard effect.
- With CB, dc in the next 4 sts. Change to CA.
- With CA, dc in the next 4 sts. Change to CB.
- Repeat from * to * around for two full rounds. (80 sts)
- Sl st to join at the end of each round.
Continue repeating Rounds 9-12 until the side of the hat reaches your desired length before the brim begins.
Part 3: The Brim (Increases)
The brim is created over four rounds, with increases in each round. Note: The increase counts may not align perfectly with the 4-stitch color blocks. Prioritize keeping the checker sections as symmetrical as possible, adjusting the placement of an increase by a stitch or two if it prevents a color block from becoming too wide or narrow.
Brim Round 1 (Increase every 7th stitch):
- Ch 2.
- The pattern is [dc in the next 6 sts, inc in the next st].
- Continue the established 4-stitch checker pattern, changing colors as needed. Start your stitch count over when you change colors to help track the increases within each section. (Approx. 91 sts)
- Sl st to join.
Brim Round 2 (Increase every 9th stitch):
- Ch 2.
- The pattern is [dc in the next 8 sts, inc in the next st].
- Continue the checker pattern, changing colors as needed. (Approx. 101 sts)
- Sl st to join.
Brim Round 3 (Increase every 11th stitch):
- Ch 2.
- The pattern is [dc in the next 10 sts, inc in the next st].
- Be flexible: As the tutorial mentions, you may need to place your increase in the 10th or 12th stitch occasionally to keep the checkers looking even. (Approx. 110 sts)
- Sl st to join.
Brim Round 4 (Increase every 13th stitch):
- Ch 2.
- The pattern is [dc in the next 12 sts, inc in the next st]. (Approx. 118 sts)
- Sl st to join.
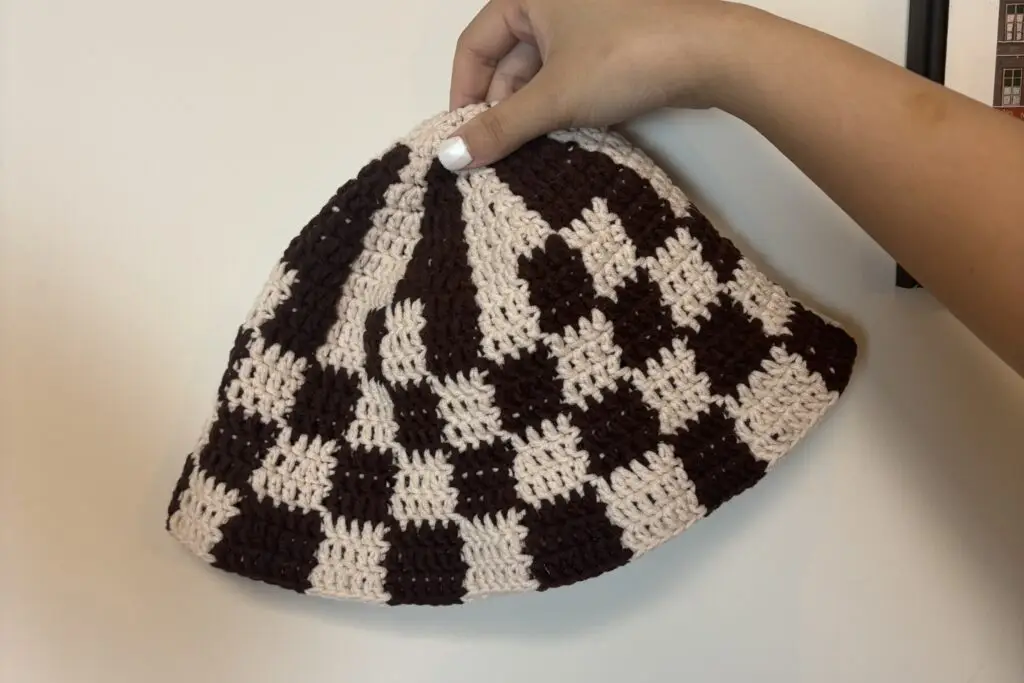
Finishing
- Cut both yarn colors, leaving a 6-inch tail.
- Fasten off the last stitch.
- Using your darning needle, weave in all loose ends. For a clean finish, weave each tail through stitches of the same color on the inside of the hat. A good technique is to go down the post of a stitch, through the base of several stitches, and then back in the opposite direction to secure it.
Your checkered bucket hat is complete!